Using GPU
Neural Networks are processed using GPU as they can better compute multiple parallel processes. Nvidia graphic cards are currently the defacto GPU used, with it supporting all neural network libraries.
Unfortunately, it is sometimes a pain to install CUDA and get it working with our libraries, so hopefully this page serves as a guide to overcome the difficulties.
Compatibility
For tensorflow and pytorch, they have compatibility setups for CUDA versions, and also for the former; cudnn, python and the compiler. You can view the requirements from the docs of tensorflow and pytorch.

Remove/Uninstall CUDA
Sometimes, we need to remove legacy versions of CUDA so that we can install a new one to work with our libraries. To do that, we can use the following commands.
sudo rm /etc/apt/sources.list.d/cuda*
sudo apt remove --autoremove nvidia-cuda-toolkit
sudo apt remove --autoremove nvidia-*
Installing CUDA 10.1 in Ubuntu 18 & 20
A great help from this medium article, CUDA 10.1 installation on Ubuntu 20.04. A more descriptive article can be viewed here
First we setup the correct CUDA PPA on your system.
sudo apt update

sudo add-apt-repository ppa:graphics-drivers

sudo apt-key adv --fetch-keys  http://developer.download.nvidia.com/compute/cuda/repos/ubuntu1804/x86_64/7fa2af80.pub

sudo bash -c 'echo "deb http://developer.download.nvidia.com/compute/cuda/repos/ubuntu1804/x86_64 /" > /etc/apt/sources.list.d/cuda.list'

sudo bash -c 'echo "deb http://developer.download.nvidia.com/compute/machine-learning/repos/ubuntu1804/x86_64 /" > /etc/apt/sources.list.d/cuda_learn.list'
Then, install CUDA 10.1 packages
sudo apt update
sudo apt install cuda-10-1
sudo apt install libcudnn7
As the last step one need to specify PATH to CUDA in ‘.profile’ file. Open the file by running
sudo nano ~/.profile
And add the following lines at the end of the file.
# set PATH for cuda 10.1 installation
if [ -d "/usr/local/cuda-10.1/bin/" ]; then
    export PATH=/usr/local/cuda-10.1/bin${PATH:+:${PATH}}
    export LD_LIBRARY_PATH=/usr/local/cuda-10.1/lib64${LD_LIBRARY_PATH:+:${LD_LIBRARY_PATH}}
fi
Reboot the system.
Installing CUDA
For a more generic installation, we can do the following, though I have personally not succeeded in getting this work. Haha.
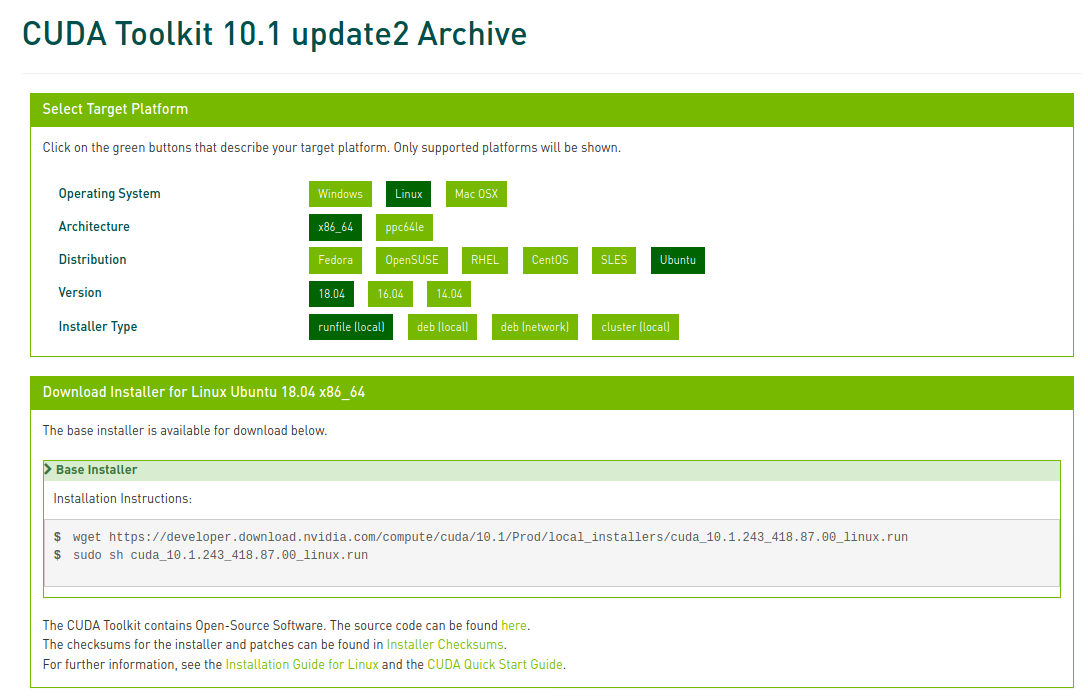
After verifying the version, go to Nvidia's CUDA website, and select the version required. You will be led to a selection screen to specify your OS.

As part of the CUDA installation, cudnn, the relevant driver, and nvidia-smi are installed.
Verification
System
To check that CUDA is installed properly at the system level, we can use the following commands in the terminal to check.
| Noun | Desc |
|---|---|
cat /proc/driver/nvidia/version |
Verify driver & gcc version |
nvcc -V |
Verify CUDA toolkit version |
nvidia-smi |
CUDA & driver versions, check memory usage |
Library
To check that tensorflow and pytorch can detect the GPU and use it, we can use the following commands.
# tensorflow
import tensorflow as tf
# return empty list if not available
tf.config.list_physical_devices('GPU')


# pytorch
import torch

torch.cuda.is_available()
# True
torch.cuda.current_device()
# 0
torch.cuda.device(0)
# <torch.cuda.device at 0x7efce0b03be0>
torch.cuda.device_count()
# 1
torch.cuda.get_device_name(0)
# 'GeForce GTX 950M'
Kill GPU processes
Sometimes our GPU might be out of memory. We can use nvidia-smi to check what processes and application used are taking up the memory so that we can close the app. If we are unable to locate the application, we can kill the process directly as follows.
sudo kill -9 <process id>
Why so Hard?
As to why it is so hard to get install CUDA. Watch this famous YouTube video.